
Enjoy Your Outdoor Space Again: Tips for Successful Patio Repair
25
Apr
2024
Table Of Contents
Your patio is more than just an outdoor space; it’s an extension of your home, where you gather with family and friends, unwind after a long day, and enjoy the beauty of nature. However, wear and tear can take its toll over time, leaving your patio needing repair. But fear not! With the right knowledge and tools, you can restore your outdoor oasis to its former glory.
In this blog, we’ll provide you with essential tips and techniques for successful patio repair so you can once again enjoy your outdoor space to the fullest. From assessing the damage to choosing the right materials and executing repairs precisely, we’ve got you covered.
Assessing the Damage: Identifying Issues with Your Patio
Before diving into the patio repair process, assessing the extent of the damage to your patio is crucial. Here are some key steps to help you assess the damage:
Visual Inspection: Start by visually inspecting the entire patio surface, paying close attention to areas that receive heavy foot traffic or are prone to water accumulation. Look for signs of wear and tear, such as cracks, chips, pitting, or discoloration.
Structural Integrity: Check the structural integrity of the patio by walking around and feeling for any areas that seem soft, spongy, or unstable underfoot. These could indicate underlying issues with the foundation or substrate, such as soil erosion, settling, or inadequate drainage.
Water Damage: Inspect the patio for signs of water damage, such as staining, efflorescence (white powdery residue), mold, and mildew growth. Pay attention to areas where water tends to accumulate or pool, as these can indicate drainage problems that must be addressed.
Joint and Edge Damage: Examine the joints and edges of the patio, including expansion joints, control joints, and perimeter edges. Look for gaps, separation, or deterioration in these areas, as they are vulnerable to damage from temperature changes, moisture infiltration, and heavy use.
Subsurface Examination: Remove a small section of the surface material to inspect the subsurface beneath. Look for signs of cracking, heaving, or deterioration in the underlying layers, such as concrete, pavers, or gravel base.
Documentation: Take photographs or make notes of the observed damage, including the location, size, and severity of each issue. This documentation will be a reference throughout the repair process and help you track your progress.
Enhancing Aesthetics: Tips for Adding Finishing Touches to Your Repaired Patio
Adding finishing touches can elevate the overall look of your outdoor space and create a welcoming atmosphere for relaxation and entertainment. Here are some tips for adding those final aesthetic touches to your repaired patio:
- Choose Stylish Furniture: Opt for stylish yet comfortable pieces that complement your patio’s design aesthetic and suit your lifestyle.
- Add Decorative Accents: Incorporate decorative accents to add personality and charm to your patio. This could include outdoor rugs, throw pillows, cushions, and decorative lanterns or candles.
- Introduce Greenery: Incorporating plants and greenery can breathe life into your patio and create a natural, inviting atmosphere.
- Install Outdoor Lighting: Strategically placed outdoor lighting can enhance the ambiance of your patio and extend its functionality into the evening hours.
- Define Functional Zones: Designate areas for dining, lounging, and entertaining, and use outdoor rugs, furniture arrangements, or planters to delineate each zone.
- Incorporate Water Features: Consider incorporating a water feature, such as a fountain, pond, or water wall, to add a soothing element to your patio.
- Maintain Cleanliness and Organization: Regularly clean your patio to keep it looking its best year-round. Sweep away debris, hose down surfaces, and remove stains promptly to prevent discoloration or damage.
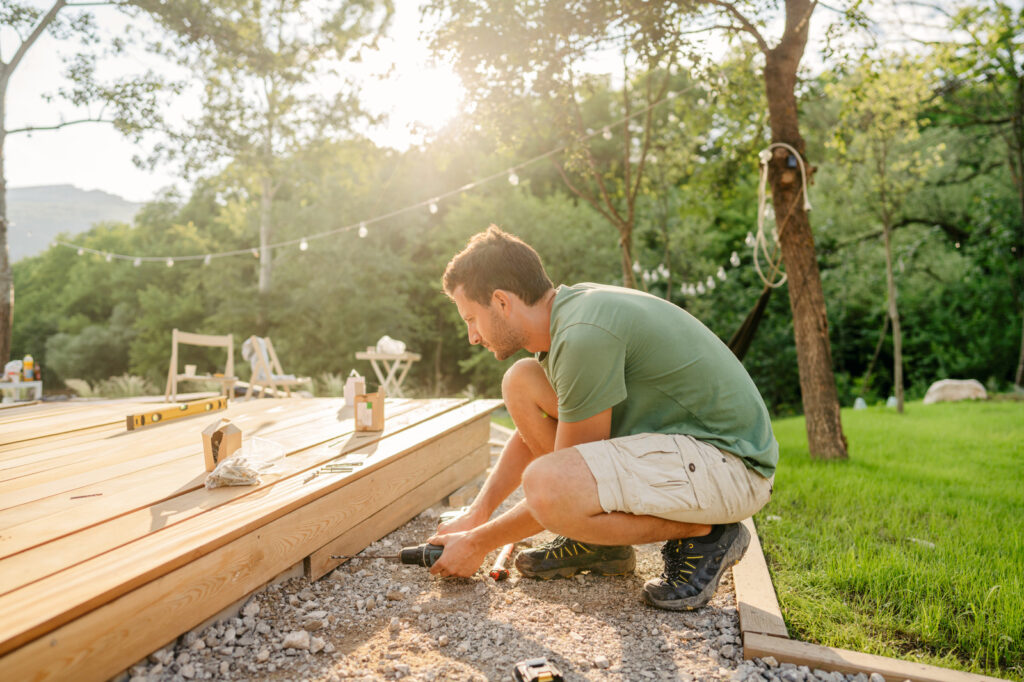
Planning and Preparation: Essential Steps Before Starting Repairs
Before diving into the process of patio repair, it’s crucial to take the time to plan and prepare adequately. Here are some essential steps to consider before starting repairs:
- Assess the Damage: Begin by conducting a thorough assessment of your patio to identify any existing issues or areas in need of repair. Inspect the surface for cracks, chips, unevenness, or signs of water damage.
- Determine the Scope of Work: Consider factors such as the type and extent of damage, the materials needed for repairs, and any additional improvements or enhancements you wish to make.
- Gather Necessary Tools and Materials: Once you’ve identified the scope of work, gather all the necessary tools and materials for the repair project.
- Consider Environmental Factors: Consider environmental factors that may impact the repair process, such as weather conditions, temperature fluctuations, and sunlight exposure.
- Prepare the Work Area: By clearing the patio of any furniture, plants, or obstacles that may impede the repair process, prepare the work area. Sweep or hose down the surface to remove debris, dirt, and loose materials.
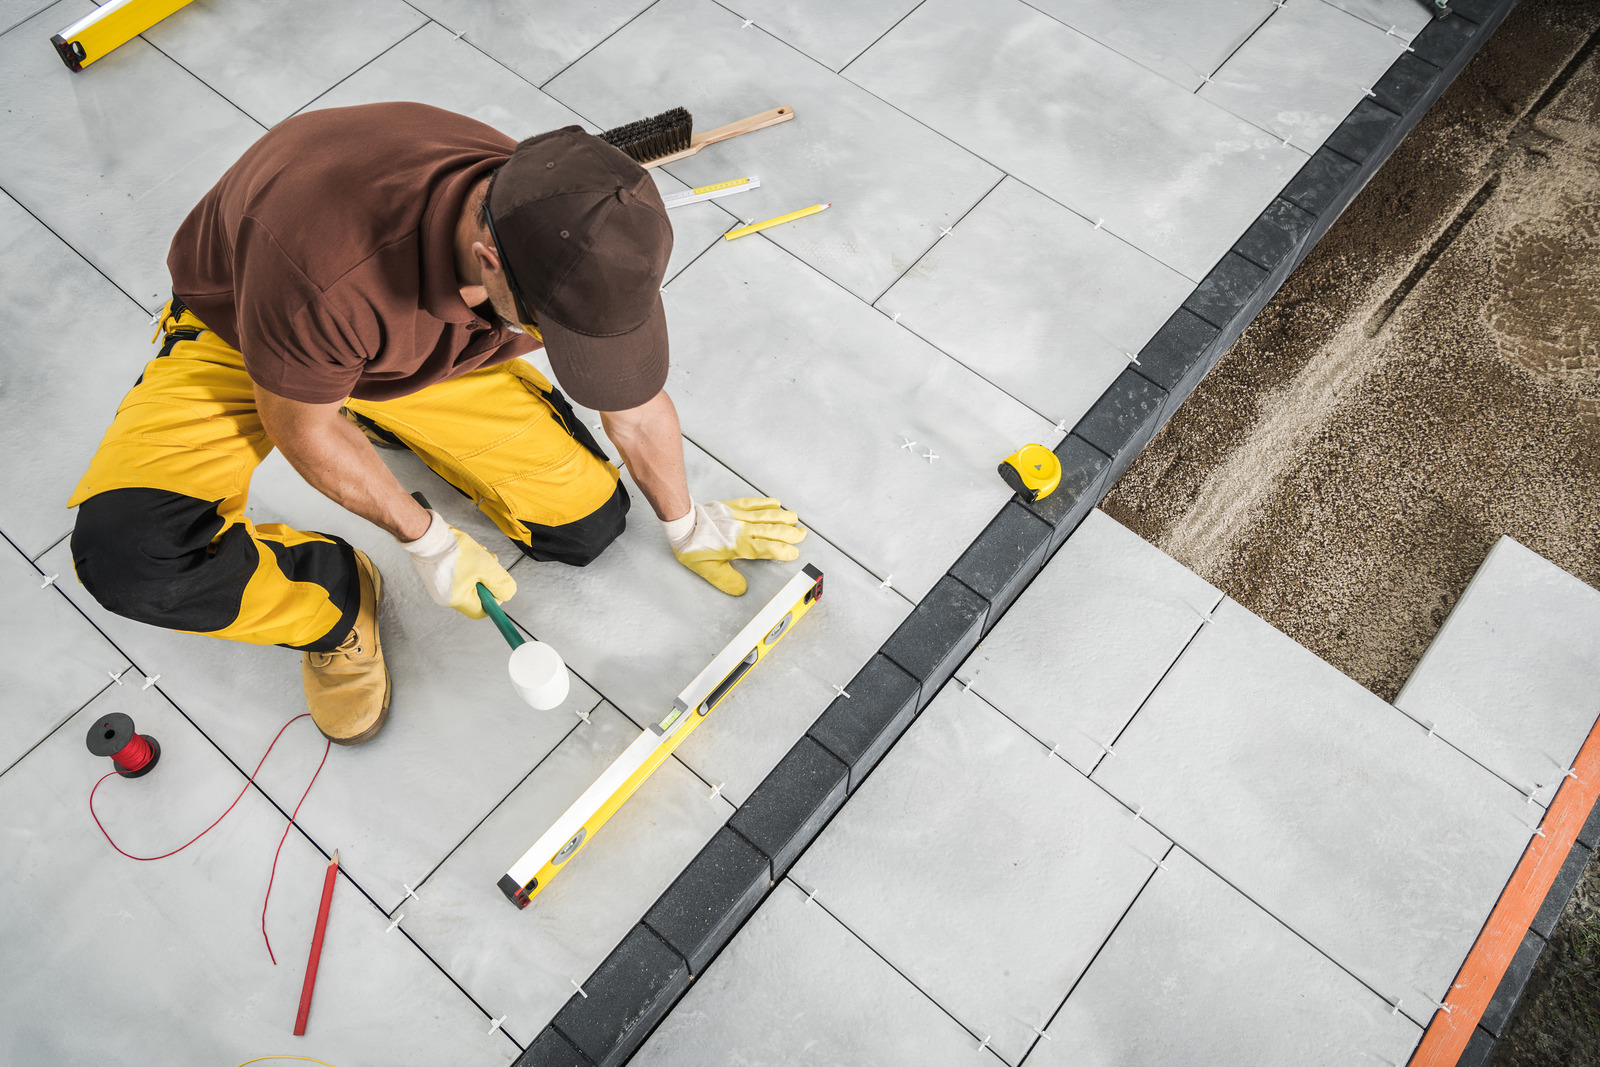
Leveling Uneven Surfaces: Ensuring a Safe and Stable Patio
Uneven surfaces on your patio detract from its appearance and pose safety risks. Start by identifying uneven areas using a straight board or level to address this. Once identified, consider filling low spots with leveling compound or using shims to support high areas. Additionally, address drainage issues to prevent water pooling. Consulting a professional for guidance is advisable to ensure a proper repair approach. By leveling uneven surfaces, you’ll create a safer and more enjoyable outdoor space for relaxation and entertainment.
Safety Considerations: Ensuring a Secure Environment During Patio Repair
When undertaking patio repair, prioritizing safety is paramount to prevent accidents and injuries. Here are essential safety considerations to ensure a secure environment throughout the repair process:
- Clear the Work Area: Remove any furniture, plants, or obstacles from the patio to create a clear, unobstructed work area. This reduces the risk of tripping hazards and allows easier movement and access to the repair site.
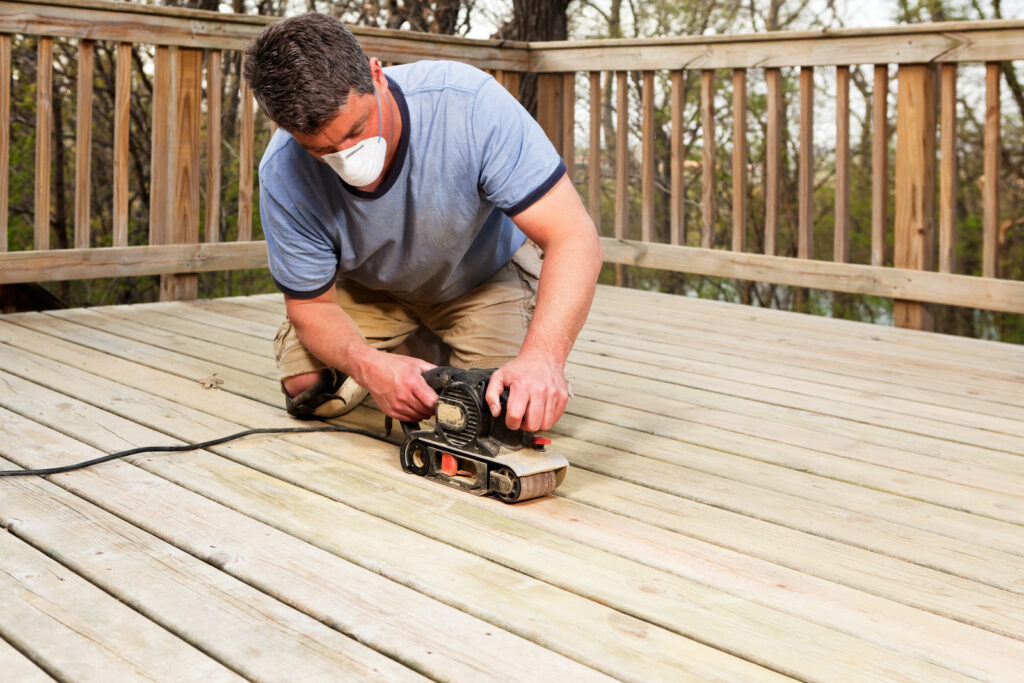
- Wear Protective Gear: Prioritize personal safety by wearing appropriate protective gear, gloves, safety goggles, and sturdy footwear. Additionally, consider using a dust mask when working with concrete or other dusty materials to protect against inhalation of airborne particles.
- Use Proper Tools and Equipment: Use the right tools and equipment for the job and ensure they are in good working condition. Inspect tools for damage or defects before use, and follow manufacturer guidelines and safety precautions.
- Work in a Well-Ventilated Area: If working with materials that produce dust, fumes, or odors, ensure adequate ventilation by opening windows and doors or using fans to improve air circulation.
- Practice Safe Lifting and Handling: Lift and handle heavy materials carefully to prevent strain or injury. Use proper lifting techniques, such as bending at the knees and keeping your back straight, and enlist the help of others for heavier objects if necessary.
- Secure Loose Materials and Debris: Secure loose materials and debris to prevent them from becoming tripping hazards or falling onto nearby surfaces. Use tarps or containers to contain debris and keep the work area tidy throughout the repair process.
- Be Mindful of Electrical Hazards: If using power tools or equipment, be mindful of electrical hazards and take appropriate precautions to prevent electric shocks or fires.
- Follow Manufacturer Guidelines: Read and follow manufacturer guidelines and safety instructions for all materials and products used during the repair process.
- Supervise Children and Pets: Keep children and pets away from the work area to prevent accidents or injuries. Consider setting up barriers or temporary fencing to restrict access to the repair site and ensure their safety during the project.
- Know When to Seek Professional Help: If you encounter challenges or are unsure how to safely proceed with repairs, don’t hesitate to seek professional assistance.
Taking proactive steps to ensure safety protects yourself and others and contributes to the success and efficiency of the repair project.
Conclusion
In conclusion, revitalizing your outdoor space through successful patio repair is an endeavor that brings both challenges and rewards. By following the tips and techniques outlined in this guide, you’ve gained valuable insights into assessing damage, planning effectively, and executing repairs precisely. Your patio is more than just a functional space; it’s a place where memories are made, laughter is shared, and relaxation is found. So, embrace the opportunity to breathe new life into your patio, and let the transformation begin.